Previously I had learnt how to add arrow wraps and spin wings, but for some reason fletching arrows with feather or plastic vanes scared me. I think it was just about how to use a fletching jig.
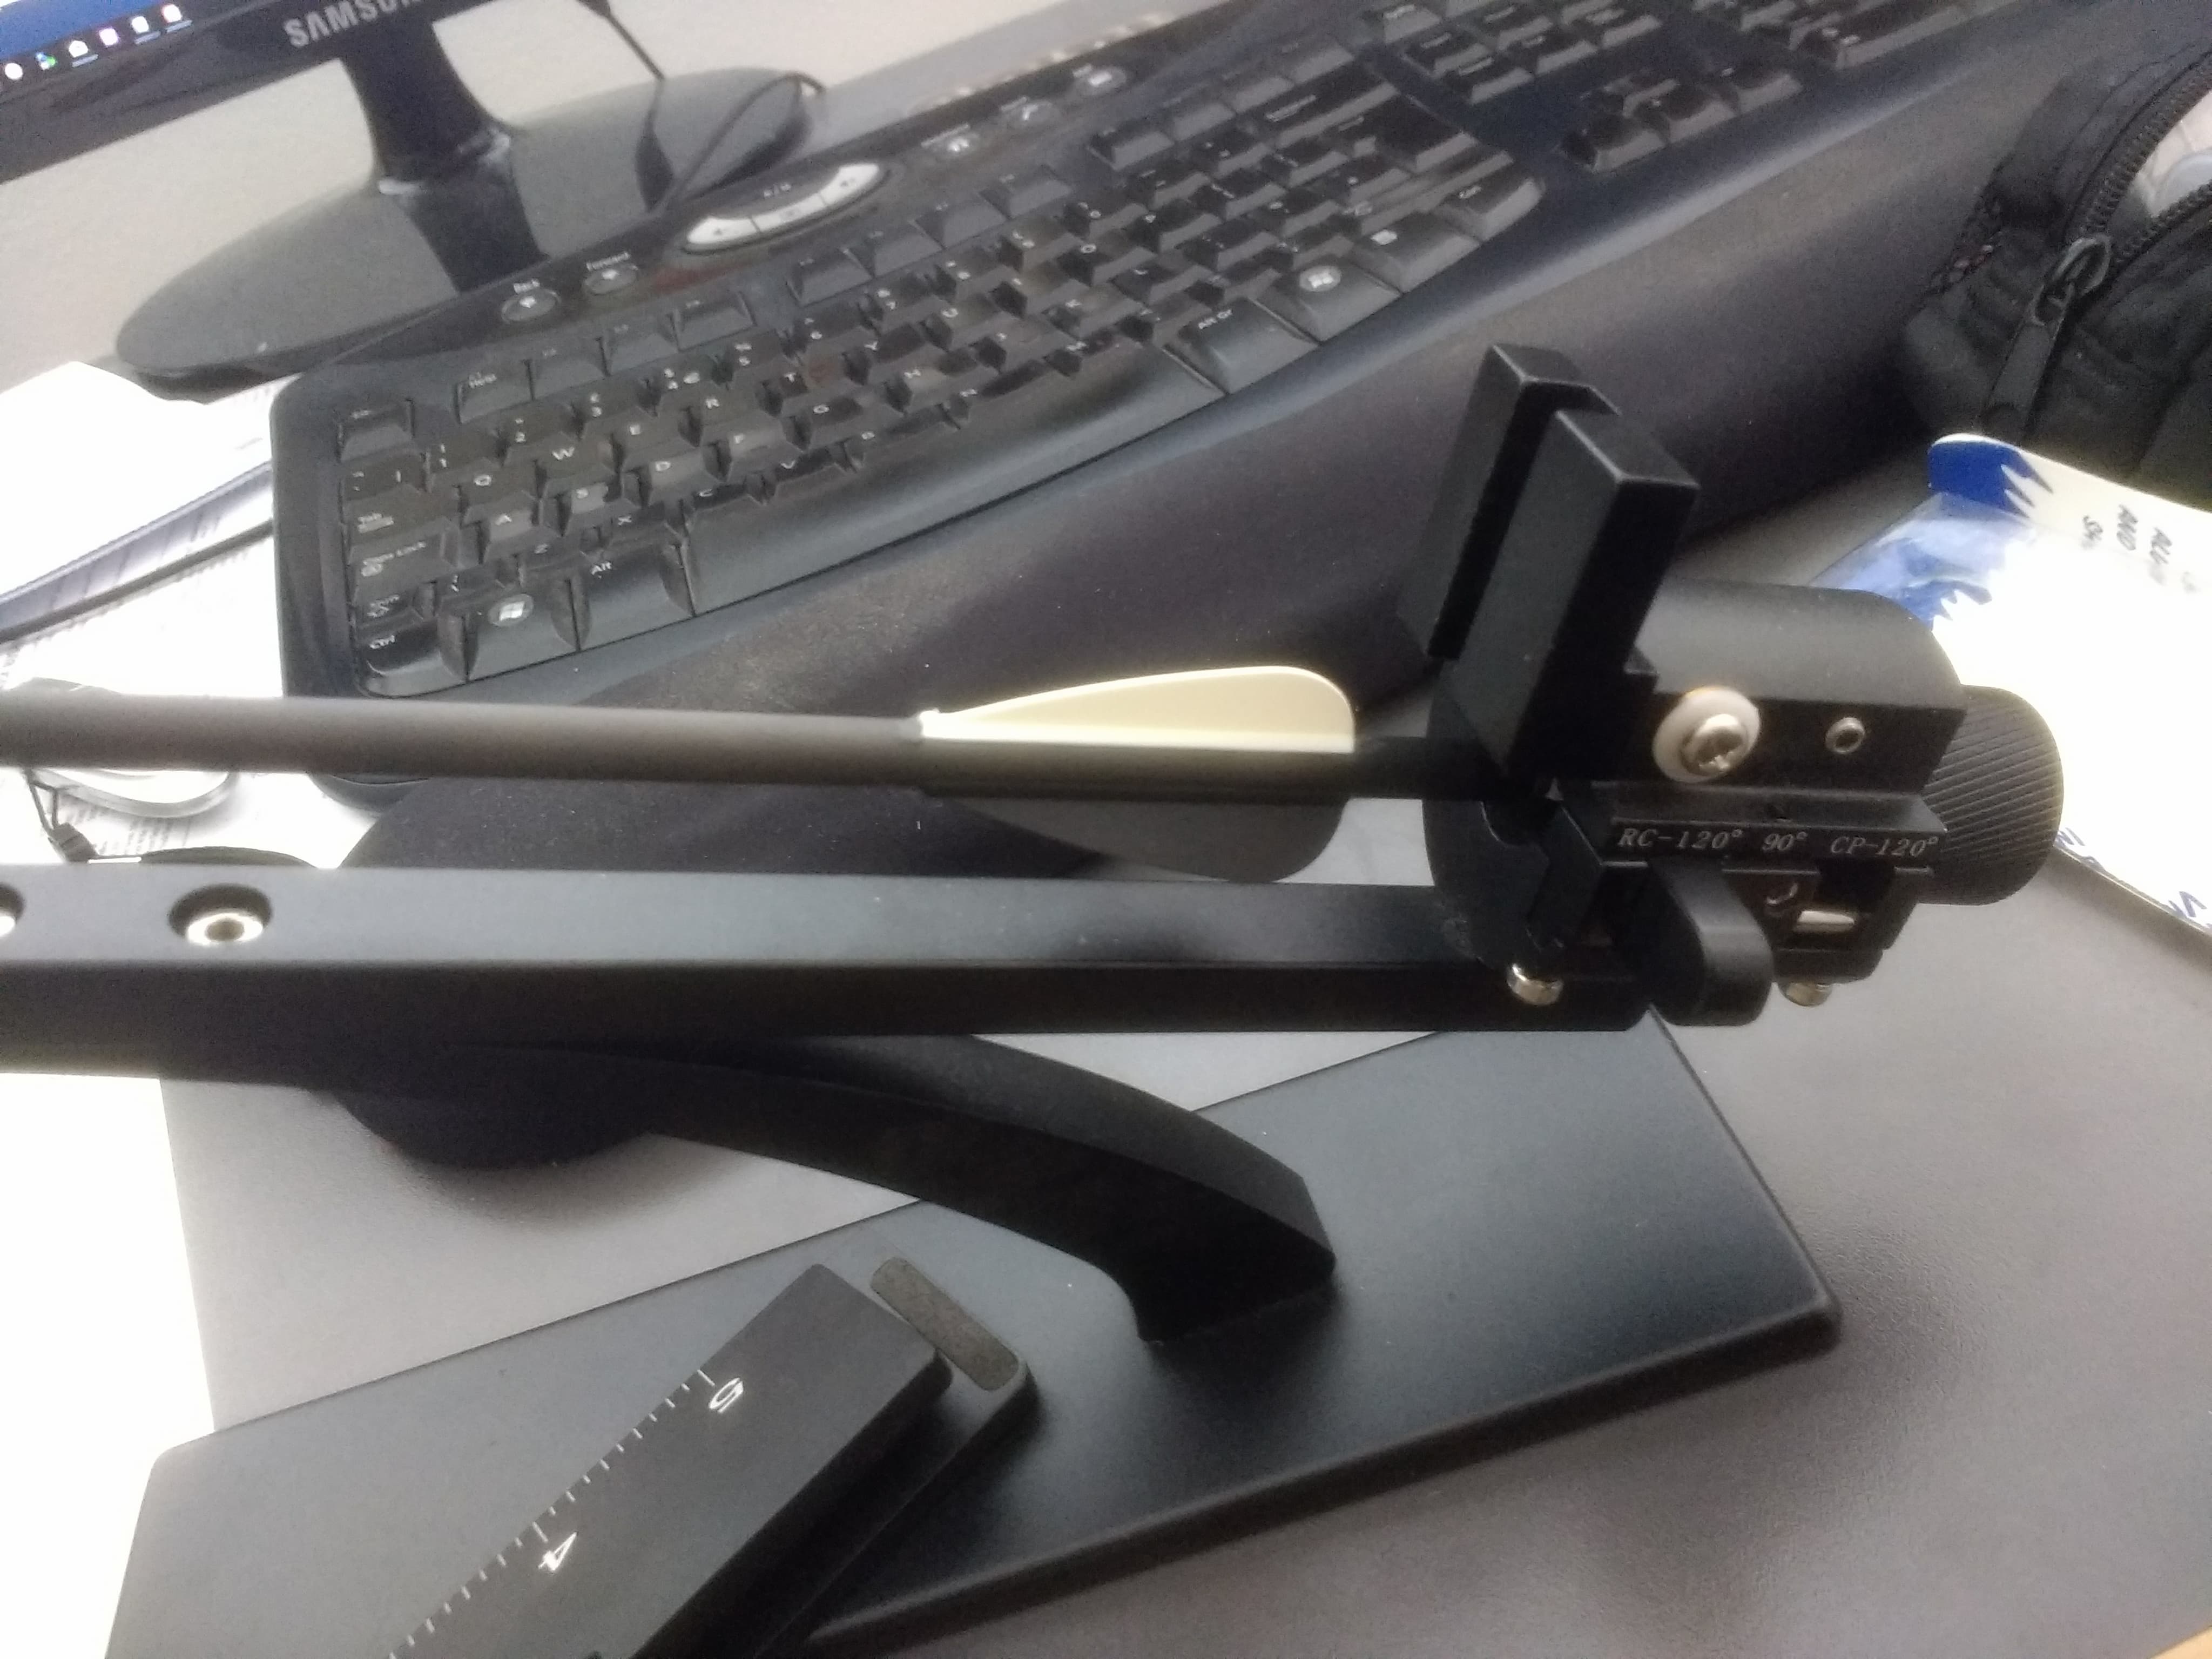
I borrowed a Decut Nexus Jig from a friend and instantly thought it was well made and looked easy to use. It has 3 settings on the side, 90 degree, 120 degree recurve and 120 degree compound. 90 degree is for 4 vanes and 120 degree is for 3 vanes. It”s just a matter of clicking the large knob at the end and wait for the audible ‘click’ and you are in position ready to glue!
Make sure your arrows have their nocks on, and then place the arrow in the jog holder. I remembered to also reset both the top and bottom alignment dials of the jig before beginning. These alignment dials allow you to offset your vanes.
Next find out how far you want your vanes from the end of your arrows and work this out yourself. Then remember to put your vanes in the clamp at exactly the same location every time.
The hardest thing I found was not getting glue everywhere. I used an AAE Fastset glue out of a metal tube. The tube did keep clogging up, so I had to keep pushing a pin down the nozzle to free it up. I do like the gel glues as they come out slowly, and as the name implies are a gel instead of liquid. Although I am tempted to try a glue bottle, like Dragon Spit next time.
You only need a small run or a number of balls of glue along each vane when it’s in the clamp. Then place the clamp in the jig holding down the clamp firmly so the vane bonds with the arrow shaft. After about 20 seconds, release the clamp and rotate the dial to move onto the next vane.
Overall, don’t be scared about fletching arrows. Buy a good jig, it’s then fun and easy to do. I’m looking forward to fletching some more arrows.